
I noticed some of my pdfs are not working, I am going to fix them right now so they should be up and running again soon! Sorry about that!
Wednesday, December 3, 2008
Sunday, November 30, 2008
Roasted Fall Vegetables and Roasted Fall Vegetable Soup
Printable Version of Roasted Fall Vegetables Recipe
Printable Version of Roasted Fall Vegetable Soup Recipe
I have been such a bad blogger lately! I'm sorry it has been so long! I am posting two recipes today though, so that makes up for it a little bit! I will also try to post two more recipes next week :)
The soup is a Martha Stewart Recipe that I adapted (made better!). We served it on Thanksgiving as an appetizer and everyone loved it, even the picky eaters in the family - you know who you are!
Roasted Fall Vegetable Ingredients:
- 2 pounds (about 1 medium) butternut squash cut into 1 1/2 inch pieces
- 2 pounds new red potatoes (12 to 14), well scrubbed and quartered
- 1 pound medium red onions (about 2 to 3) peeled and quartered
- 1 pound of carrots (6 to 8 medium) halved lengthwise if thick, and cut into 1 1/2 inch lengths
- 6 garlic cloves, peeled and smashed
- 4 tablespoons of olive oil
- Kosher salt
- Black pepper
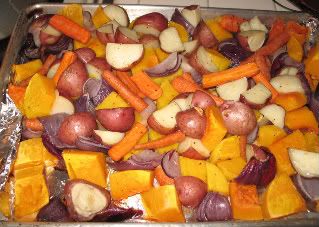
Preheat the oven to 450 degrees. Place the vegetables and garlic on a baking sheet lined with tin foil. You may need two baking sheets. Drizzle with olive oil, sprinkle kosher salt and grind the black pepper all over the veggies.
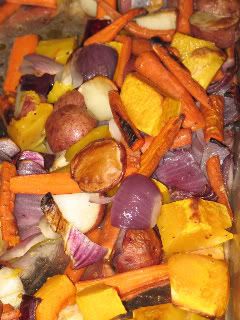
Roast the vegetables in the oven until tender and beginning to brown, about 45 minutes. Toss the vegetables and rotate the sheets halfway through cooking.
Here is what the veggies look like after they are done!
Serve these vegetables as a side with roasted chicken, mmm mmm good!
Roasted Fall Vegetable Soup Ingredients:
- 6 cups of roasted fall vegetables (see above recipe)
- 1 tablespoon of freshly squeezed lemon juice (from 1/2 of a lemon)
- 1/4 of a cup of 2 percent milk
- 1 teaspoon of sugar
- Kosher salt
- Black Pepper
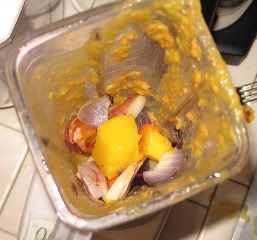
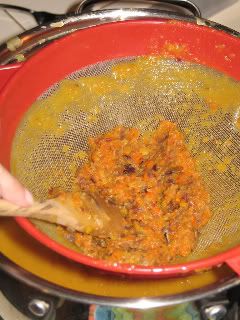
Working in batches, puree vegetables with a blender. I put three cups of vegetables in the blender with 1 cup of water. Pour each batch of the puree through a fine mesh sieve into a large saucepan, pressing the puree through with a spoon or spatula. Discard any chunks that won't fit through the sieve.
Here are some of the veggies inside the blender before the water was added:
Here is what is what wouldn't go through the sieve (Discard this!):
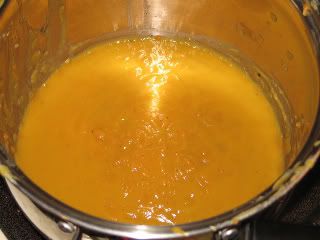
Here is the smooth puree that is in the pot:
After you have finished pureeing all of the vegetables, heat the soup on medium heat. You may need to thin the soup with a little bit more water if necessary. Then, add the lemon juice, milk, salt, pepper, and sugar. The salt and pepper is to taste, don't be afraid to add a lot if necessary! :)
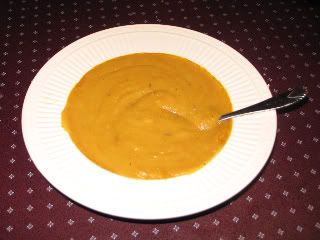
Serve your soup with some toasted bread or crackers. Enjoy!
Wednesday, October 29, 2008
Pumpkin Rice Krispie Treats
Printable Version of Pumpkin Rice Krispie Treats Recipe
Hello everyone! Sorry it has been so long since I have updated the blog, I have been having a flare up of my MS. I am feeling better though, so today I decided to make an easy and fun Halloween treat!
I made up this recipe last year when I was trying to think of something diet friendly to bring to a Halloween party. They are extremely easy to make, healthier than the original Rice Krispie Treats, and everyone seems to love them. Enjoy!
Ingredients:
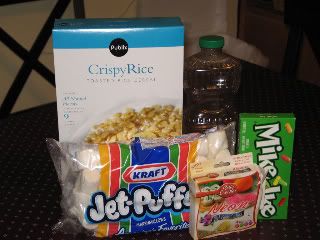
- 6-7 cups of Rice Krispie Cereal (Preferably Kelloggs)
- 1 bag of Kraft Jet-Puffed Marshmallows
- 1.5 tablespoons of Mazola Vegetable Oil (Or any other flavorless and odorless oil - this is very important!)
- 2 boxes of Mike & Ike candy
- Orange food coloring (or a mixture of red and yellow food coloring)
- Pam non-stick cooking spray
- Wax paper or tinfoil sprayed with Pam
- 2 cookie sheets
First, cover two cookie sheets with wax paper. If you do not have wax paper, you can use tinfoil. If using tinfoil, spray one of the cookie sheets with Pam.
Heat the vegetable oil in a large saucepan on medium-low heat. Then, add the entire bag of marshmallows.
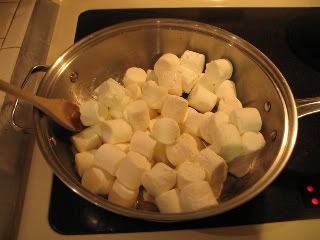
Start stirring with a wooden spoon and continue stirring constantly until the marshmallows are almost completely melted. After that, add a generous amount of food coloring until the marshmallows are a deep orange color.
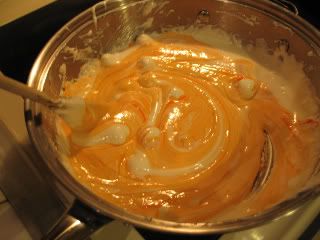
Continue stirring until all lumps are gone.
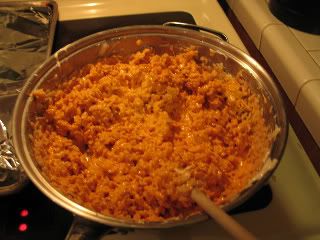
Take the saucepan off of the heat and add 6-7 cups of rice krispie cereal. Stir the cereal until it is completely incorporated.
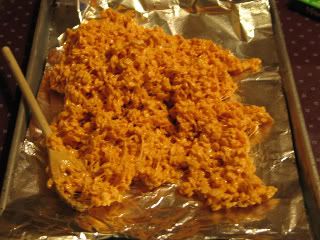
Scoop all of the rice krispie treat mixture onto one of the cookie sheets (use the greased cookie sheet if using tin foil). Let the mixture cool for about a minute (or less) until it is cool enough to handle with your hands.
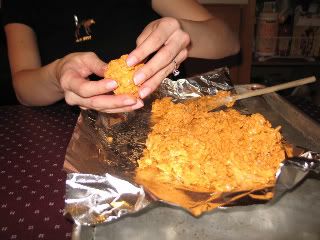
Now, working quickly, grab handfuls of the rice krispie mixture and roll it into a ball. The balls should be about the size of golf balls. Put each ball on the second cookie sheet (use the non-greased cookie sheet if using tin foil). You need to work continuously until you finish, you don't want the mixture to harden on you.

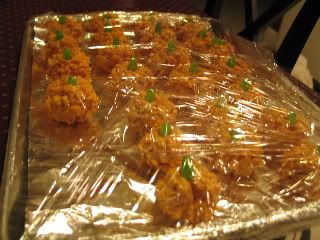
After all the pumpkins are made, poke the top of each one with your finger and place a green Mike & Ike candy in the top. Voila! You have Pumpkin Rice Krispie Treats! There should be about two dozen or more.


Tip: I suggest that you wrap them with saran wrap or put them in an airtight container so that they don't get stale.
Please leave a comment if you make these delicious treats! Happy Halloween!
Friday, October 10, 2008
Baked Italian Chicken Tenders and Garlic Fries
Printable Version of Baked Buffalo Chicken Recipe
Printable Version of Baked Garlic Fries Recipe
Yes, I know I already made some baked chicken tenders, but I had some leftover buttermilk that needed to be used before it went bad so I made this meal for dinner tonight! The chicken tender recipe is a Giada De Laurentiis recipe that I altered and the fry recipe is a great recipe from Ellie Krieger. Ellie Krieger has a great show called "Healthy Appetite with Ellie Krieger" that I highly recommend if you are looking for healthy recipes!
Ingredients:
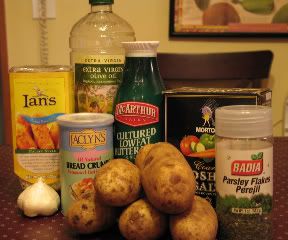
- Extra virgin olive oil
- McArthur Cultured Low Fat Buttermilk
- 2 pounds of chicken breast, cut into tenders
- 1 1/4 cup Panko Italian seasoned breadcrumbs
- 1 1/4 cup Jacyln's Italiean seasoned breadcrumbs (or any other organic brand you like!)
Garlic French Fries Ingredients:
- 6 Idaho potatoes
- 6 cloves of garlic, minced
- 5 Tbsp of extra virgin olive oil
- 1 tsp kosher salt
- 1 tbsp of fresh or dried Italian parsley
Preheat the oven to 500° F
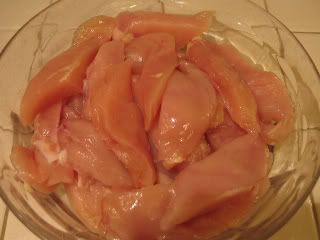
First, cut the chicken breasts up into chicken tenders.
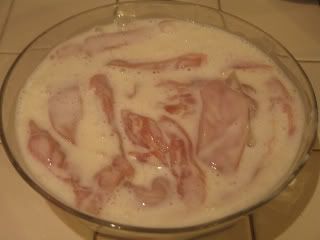
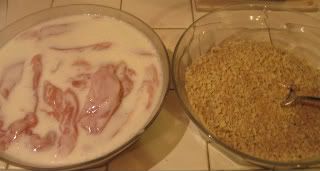
Then, put the chicken tender pieces in a large bowl and pour the buttermilk all over them. Toss the chicken tenders in the buttermilk to make sure they are completely coated. Cover the bowl and put them in the refrigerator for at least 30 minutes.
While the chicken is marinating, cut the potatoes into French fries. To do this, cut the ends off of the potato, then cut the potato in half lengthwise, then cut the halves in half lengthwise. After that, cut each piece into strips that are the same size. Then cut each strip into individual fries. Try to cut each fry the same size so that they cook evenly.
Once the fries are cut, heat 5 tablespoons of olive oil in a pan on medium high heat. Add the minced garlic to the oil and stir continuously to avoid the garlic from burning.
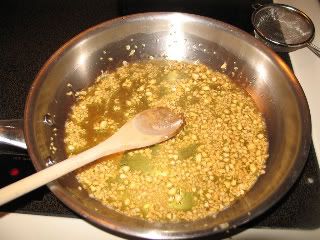
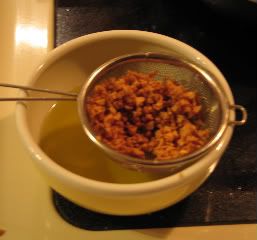
Once the garlic is browned and crispy (after about 2 minutes), take the pan off of the heat. Then, strain the garlic through a small strainer so that you separate the garlic pieces from the oil.
Add 1 tablespoon of kosher salt to the oil, stir a little to combine, and then coat the fries with the oil.
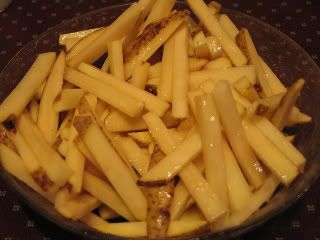
Cover a baking sheet with olive oil and spread the fries over the pan evenly so that each fry is touching the sheet. Bake the fries in the oven for 30-35 minute or until browned and crisp. Don't forget to turn the fries over once in the middle of baking. Sprinkle the garlic pieces and parsley over the fries.

While the fries are baking, mix the Panko Italian breadcrumbs with the regular Italian bread crumbs.
Then, take each buttermilk coated chicken tender and dip it into the bread crumbs. Gently pat the breadcrumbs so that they stick well to the chicken tenders. Put all the pieces of breaded chicken tenders on a baking sheet coated with oil. Drizzle some more olive oil on top of the chicken tenders and put them in the oven. Bake the chicken tenders for 12-15 minutes or until browned and cooked through.
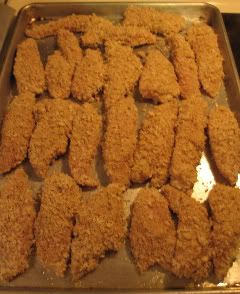
Tip: Put the fries on the bottom rack of the oven and the chicken tenders on the second rack. The french fries need more time to cook and this will help speed up the process.
Serve the chicken tenders with your favorite dipping sauce. I love them with ketchup!
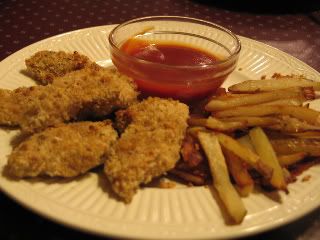
Enjoy and please let me know what you think!
Sunday, September 28, 2008
Bruschetta
Printable Version of Bruschetta Recipe
Andrew and I LOVE bruschetta. We have made this recipe a few times and everyone always loves it. I was rushing while I made it today for my dad's party so I didn't take a lot of pictures. Let me know if you have any questions!
Ingredients:
- 4 cups peeled seeded and chopped tomatoes (any variety but Romas work well)
- 1/4 cup fresh basil leaves sliced very thinly (see notes at bottom)
- 4 cloves fresh garlic, smashed and very finely chopped
- 2 Tbsp fresh oregano minced
- 1 Tbsp fresh thyme minced
- Pinch kosher salt, to taste
- Fresh ground pepper to taste
- 2-3 Tbsp extra virgin olive oil
- 1 Tbsp balsamic vinegar
- 2 baguettes (any French bread would work, but the skinny crusty baguette works the best)
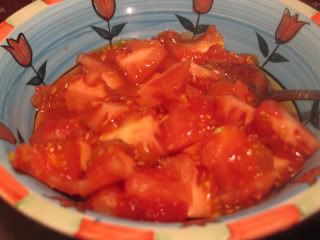
First, cut the tomatoes into quarters like so:
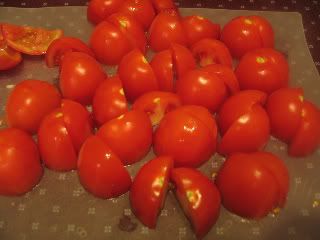
Then, clean out all of the seeds from the tomatoes using a spoon, so that they look like this:
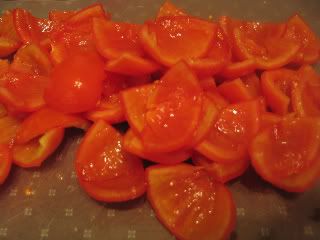
This is everything that came out of the tomatoes:
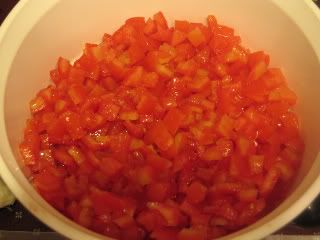
After that, press each piece of tomato down and cut it into strips, then cubes. All of the tomato pieces should be about the same size, like so:
For basil, a chiffonade works best. To do this, stack fresh basil leaves one on top of the other until you get several leaves. Then roll up the leaves. Slice very thin slices off of the little roll of leaves. You will get a very thin shredded look to the basil without bruising the leaves. Mince the thyme and oregano as well as the garlic.
Combine tomatoes, chopped garlic, herbs, salt, pepper, olive oil and vinegar in a glass or plastic bowl. Mix well and refrigerate for at least 30 minutes.
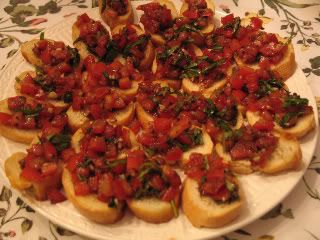
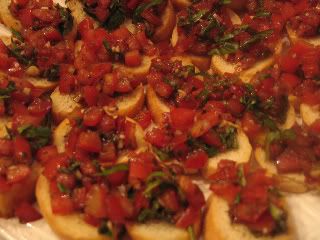
While the bruschetta mixture is cooling, preheat the oven to 400 degrees. Slice baguettes on the diagonal in thin slices. Drizzle the slices with olive oil and bake the bread in the oven for about 10 minutes or until toasted. After the bruschetta has cooled and the bread is toasted, top a little bit of the bruschetta mixture on each slice of bread.
The final product will look like this:
Enjoy!!
Saturday, September 27, 2008
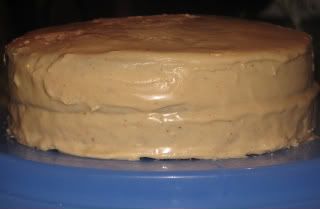
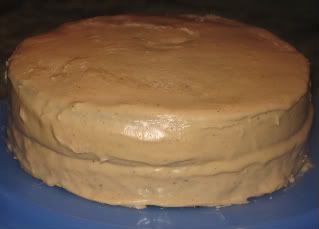
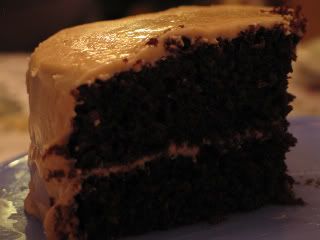
Chocolate Cake with Peanut Butter Frosting
Printable Version of Chocolate Cake with Peanut Butter Frosting Recipe
This is my birthday specialty. This weekend I baked this delicious cake for my dad's 66th birthday! Happy Birthday, Pop! I got this recipe from Ina Garten, it's called Beatty's Chocolate Cake, however I adjusted the ingredients slightly and also changed the frosting to a healthier alternative. Enjoy!
Cake Ingredients:
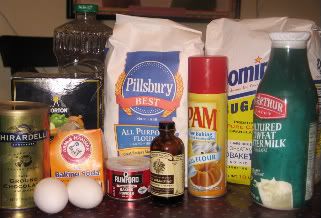
- 1 3/4 cup all-purpose flour
- 2 cup sugar
- 3/4 cup good cocoa powder (I like Ghiradelli Sweet Ground Chocolate and Cocoa)
- 2 tsp baking soda
- 1 tsp baking powder
- 1 tsp kosher salt
- 1 cup McArthur Cultured Lowfat buttermilk, shaken
- 1/2 cup vegetable oil (I like Mazola)
- 2 extra-large eggs, at room temp
- 1 tsp pure vanilla extract (I recommend Nielsen-Massey Madagascar Vanilla Extract)
- 1 cup freshly brewed hot coffee (or espresso if you prefer!)
- Pam for Baking with Flour
Frosting Ingredients:
- 4 cup sifted powdered sugar
- 1/2 cup of 1% or skim milk
- 2 tsp vanilla
- 1/3 cup creamy organic peanut butter (I like Publix)
To make the cake:
Preheat the oven to 350° F.
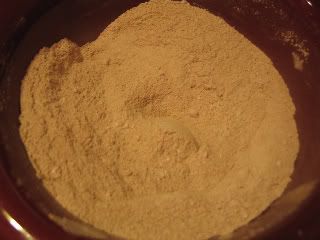
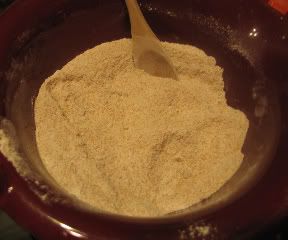
Sift the flour, sugar, cocoa, baking soda, baking powder, and salt in a bowl.
Combine the buttermilk, oil, eggs, and vanilla in the bowl of an electric mixer fitted with a paddle attachment and mix on low speed until combined. With the mixer on low speed, slowly add the dry ingredients to the wet. With mixer still on low, add the coffee/espresso and stir just to combine, scraping the bottom of the bowl with a spatula.

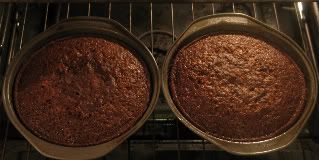
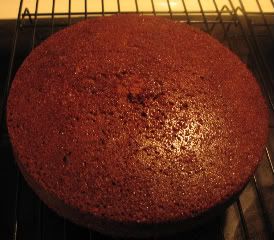
Pour the batter into the prepared pans and bake for 35 to 40 minutes, until a cake tester comes out clean. Take the cakes out of the pan immediately, turning them over onto a cooling rack. Let them cool there completely.
To make the frosting:
Beat peanut butter in a mixing bowl until it is fluffy. Add 2 cup of the powdered sugar gradually, beating constantly. Add 1/4 cup of milk and the vanilla; slowly beat them in. Slowly beat in the rest of the powdered sugar and another 1/4 of milk. If necessary, add a little more milk if frosting is not spreadable. Sorry that I do not have pictures of this! Tip: Frost the cake right away, it will harden and not be smooth enough to spread. Also, wetting the knife will also help spread if the frosting hardens.
To frost the cake:
Place 1 layer, flat side up, on a flat plate or cake pedestal. With a knife or offset spatula, spread the top with frosting. Place the second layer on top, rounded side up, and spread the frosting evenly on the top and sides of the cake.
Please leave a comment if you end up making this delicious cake! Thanks!
Sunday, September 21, 2008
Peanut Butter Brownies
Printable Version of Peanut Butter Brownies Recipe
I love brownies!!! I especially love peanut butter brownies. These brownies only have raw sugar and brown sugar, no butter or any other unhealthy fats, and I have even made them with wheat flour. They are healthy and delicious. Try them!
Ingredients:

- 1 1/2 cup all-purpose flour (or whole wheat flour)
- 1 1/2 tsp baking powder
- 1/2 tsp kosher salt
- 1 cup raw sugar
- 3/4 cup brown sugar
- 2 eggs
- 2 egg whites
- 3 Tbsp applesauce
- 1/3 cup canola oil (I like Mazola)
- 1 cup natural creamy peanut butter (I like Publix's brand)
- 7 Tbsp cocoa powder (I like Ghiradelli)
- Non-stick spray (Pam Original is what I use)
Preheat oven to 350°. Mix the flour, baking powder, salt, sugar, and brown sugar together in one bowl. I usually use a strainer in order to remove all of the clumps from the dry ingredients. The final product will be nice and smooth like so:
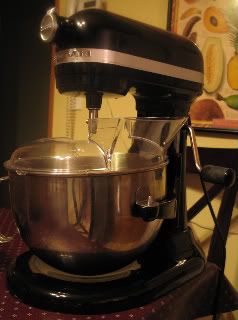
Using a standing mixer, like my BLACK THUNDER, or a handheld mixer, mix the eggs, egg whites, applesauce, and canola oil in another bowl. Make sure to scrape the bowl periodically to ensure that everything mixes together well. Add the dry ingredients (flour, baking soda, salt, and sugars) to the wet ingredients and mix some more.
Mix in the peanut butter. Tip: Spray the measuring cup with Pam so that the peanut butter slides right out.
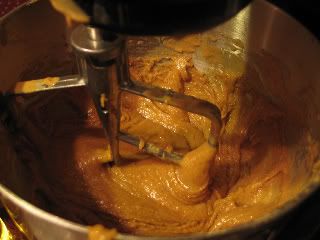
Scrape the sides of the bowl,add the cocoa powder and mix some more until all the ingredients are completely incorporated.

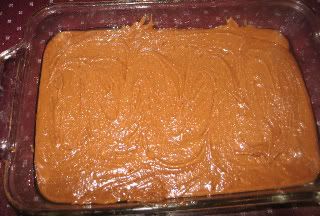
Spray a 13x9 inch pan or whatever that you have that is closest to that size. Pour the brownie batter into the pan and even it out with a spoon. The batter will be thick so it may take a little work to get it all out of the bowl.
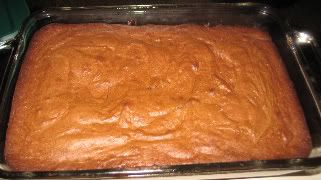
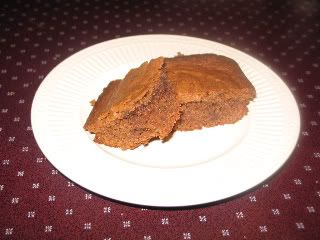
Bake for 30-35 minutes, or until you can stick a toothpick in the batter and it comes out clean or almost clean (you do not want to burn the brownies). After they are cooked they will look like this:
Let the brownies cool completely before you cut them. Store them in an airtight container and enjoy your healthy, tasty, low fat brownies!

Please let me know how they taste if you make them!
Sunday, September 14, 2008
Spaghetti and Turkey Meatballs
Printable Version of Spaghetti and Turkey Meatballs Recipe
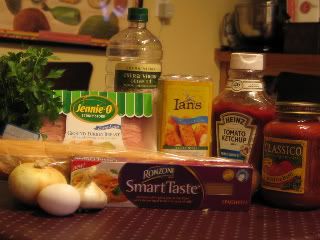
Turkey meatballs is one of Andrew and I's favorite meals. They are so delicious! We usually eat them the next day with bread, making them into a meatball sub - mmmm. For this recipe I have listed some specific ingredients that I think are important. Sometimes when you cook low fat meals, you really need to use the best ingredients in order to make up for the fact that it's low fat. Also, Jenny-O turkey is the best ground turkey and make sure you get the Extra-Lean one. Turkey that is regular fat is basically the same as ground beef.
Ingredients:
1 small onion, grated
1/4 cup chopped fresh Italian parsley leaves
1 large egg
3 Tbsp ketchup
3 garlic cloves, minced
1 tsp salt
1/4 tsp ground black pepper
1 cup Ians Italian Stye Panko Bread Crumbs
1 pound Jenny-O Extra Lean Ground Turkey
1/3 cup extra-virgin Spanish olive oil (I like Carbonell)
1 34 ounce jar of Classico Tomato and Basil Sauce
1 box of Ronzoni Smart Taste Spaghetti (This is the best healthy spaghetti!!)
To make the meatballs, mix the first 7 ingredients in a large bowl to blend. Stir in the bread crumbs.
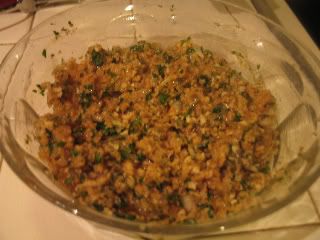
Fold in the ground turkey using a fork, not your hands (they will be too dense).

Shape the meat into meatballs with your hands, they should be about the size of golf balls.
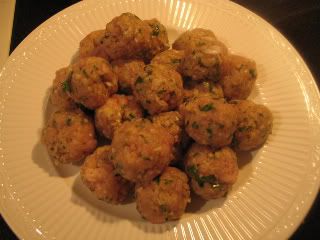
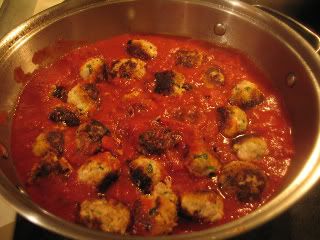
Heat the olive oil in heavy large frying pan over medium-high heat. Working in 2 to 3 batches, add the meatballs and sauté until browned on all sides, about 5 minutes. Using a slotted spoon, transfer the meatballs to a plate. Pour off any excess oil and turkey remnants. Return all the meatballs to the pan. Add the marinara sauce. Simmer over medium-low until the sauce thickens slightly and the flavors blend, about 10 minutes. Begin cooking the spaghetti in salted boiling water. Once the 10 minutes pass, check one of the meatballs to make sure its cooked all the way through.
Add the sauce and meatballs to the spaghetti. Your final meal will look like this!
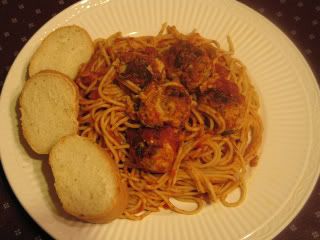
Enjoy!
Subscribe to:
Posts (Atom)